Showing posts with label catherine pooler ink. Show all posts

May 12, 2020

CASOLOGY WEEK #368, PLANT


Hello my dear lovely crafty friends, how are you? I hope you're safe, healthy and good. #stayhomestaysafe.

Welcome back to another lovely challenge at CASology where the cue word is 'Plant'. Bloom or grow where you're planted, this was the quote inspired and encouraged me to start my crafty journey with absolutely nothing. Now I'm so thankful to our Lord God for everything that I have now. :)


Our sponsor for this challenge is Stamplorations. Join the challenge, have fun and don't forget to leave some love here and on my fellow DT blogs. Would love to receive a comment from you guys!

MY CARD MAKING DETAILS

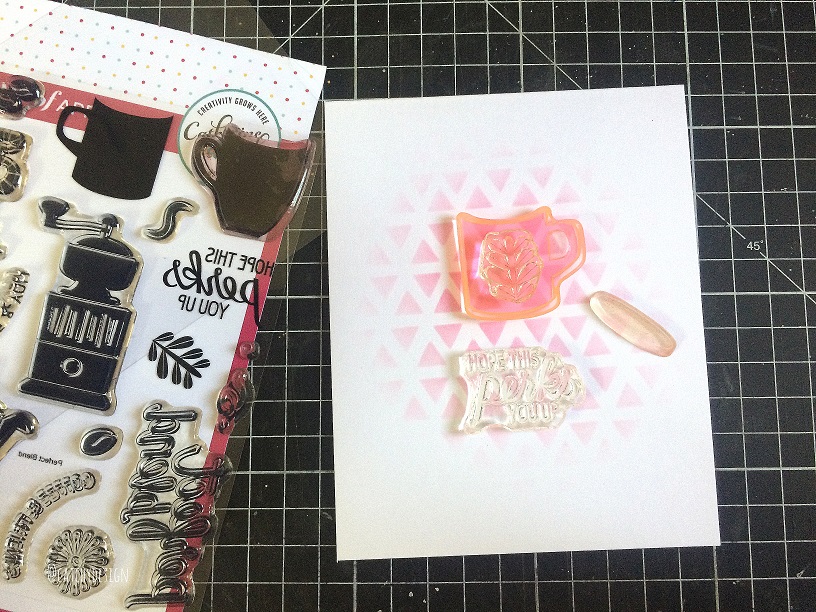
It is a one layer card with Overlap Stamping Technique (watch video here). The stamp set and Inks used here are by Catherine Pooler Designs.

(I am a part of their affiliate program. This means that I receive a small commission when products are purchased through links I share here (at no additional cost to you). Kindly support me by clicking through these links when you shop. Thanks so much.)


For me everyday is Mother's Day, I usually don't celebrate only on that day, I celebrate everyday with my beloved mom. Do not be afraid to use bold colors and splatters on one layer card design. I hope you like the card and I hope you guys would join the fun. Thank you so much for visiting and I'll see you next time. :)

I'm entering this card for AAA CAS Game #165 - Up To One Third + optional twist A Repeating Image.

January 7, 2020

CASOLOGY CHALLENGE | REPEAT


Hello everyone! Today is my very first day and this is the first post for CASology Challenge where the cue word is 'Repeat'. I'm so happy that I'm finally a team member of my favourite challenge blog. :D


CARD MAKING DETAILS


For my today's card I used the Wonky Triangle Stencil and Perfect Blend Stamp Set, It's a Boy Ink, Be Mine Ink and Something Borrowed Ink by Catherine Pooler Designs.


I placed the stencil on a standard sized card base and applied Be Mine Ink through the stencil with the help of an ink blending tool.


I wanted that 'Repeat' pattern only at the centre of the card. Beautiful design is revealed when the stencil is removed.


I took a few stamps from Perfect Blend Stamp Set. This is almost a one layer card. I thought these stamps would do justice to the card design.


I stamped the mug with It's a boy ink then added detail with Something Borrowed ink and the coffee with Versafine Sepia Ink.


I also stamped the sentiment from the same stamp set and fussy cut the images and kept aside.


I added tiny black ink splatters to pull the overall card design.


I foam mounted the images and I watercolored the ground for the mug.

A few shots for you..


And that's all for today. I hope you like it and I hope you guys would take part along the challenges. Have fun dear friends. :)

March 27, 2019

CARDS MADE WITH SOA TROPICAL TREASURES | CATHERINE POOLER DESIGNS


Hello everyone! How are you doing? Did you know The Tropical Treasures is available at catherinepooler.com? This is such a lovely and beautiful release that you shouldn't want to miss out! There is still time to hop along the Insta Hop, Blog Hop and Video Hop for your chance to win a $25 GV to CP Store. Here I have a couple of cards to share with you, Enjoy :)


The first one is a one layer card with simple stamping. I stamped the leaf image and sentiment from Leave Me in Paradise and Pineapples and Smiles stamp set with Lucky Clover Distress Ink and CP's Midnight Ink respectively.


Then I added splatters of black and gold inks to enhance the beauty of the card design.

Here comes the second card which I made for CP's Instahop. 


I colored the pineapple stamp from Pineapples and Smiles Stamp Set with watercolor brush pens.


Then I spritz water on the stamp and stamped on the card base. This created a beautiful floral watercolor background.


I also added splatters of black paint, stamped the sentiment from the same stamp set - fussy cut it and foam mounted on the card front along with some gold twine. :)

I hope you like these cards and got inspired. Here is the list of supplies I used in today's post. 

(I am a part of their affiliate program. This means that I receive a small commission when products are purchased through links I share here (at no additional cost to you). Kindly support me by clicking through these links when you shop. Thanks so much.)

  1. Leave Me In Paradise Stamp Set
  2. Pineapples and Smiles Stamp Set
  3. Midnight Black Ink

February 6, 2019

YOU AND ME COFFEE THEMED CARD | CATHERINE POOLER DESIGNS | VIDEO


Hello everyone! I'm back with a coffee themed card. I love coffee and so my husband! :) And I kept the colors of my card match the coffee theme. It's a pretty simple one layer card with stamping, masking and ink blending. I have a video also kindly do check to learn more details about this card.


The stamp set and a couple of inks I used here are form Catherine Pooler Designs
(I am a part of their affiliate program. This means that I receive a small commission when products are purchased through links I share here (at no additional cost to you). Kindly support me by clicking through these links when you shop. Thanks so much.)


CARD DETAILS

I started by stamping the coffee mugs with Be Mine and Rockin' Red Inks from Perfect Blend Stamp Set, also added details with Versafine Sepia Ink. Later I masked the bottom area of the card and ink blended lightly with the same Versafine Sepia then masked the top portion and ink blended heavily. I also added splatters of Vintage Photo Distress Ink for more interest. Adhered a little die-cut heart and finished the card.

WATCH AND ENJOY


Entering this card for AAA cards - CAS Game #133 - One Layer + Love. Thank you so much for stopping by, see you soon! :)

December 19, 2018

MAKING TECHNIQUE PART THREE - CREATING A SCENE


Hello everyone! Today's post is all about creating a scene with Masking Technique. Please click here for part one and part two. This is part three and in this video/blog post I'll show you how to create a scene. I used Lawn Fawn Stamps - Toboggan Together Stamp Set, Distress Inks - Chipped Sapphire, CP inks - Lime Rickey and Melon Ice and Sizzix Permanent Pens. This is one layer card by the way! :D


I have a video for you where I've shared everything in detail. I hope you like it. Thanks for visiting! :)


November 15, 2018

MASKING TECHNIQUE - PART TWO CREATING A GROUP | VIDEO


Hello my dear crafty friends! As promised, I am back with part two video in Masking Technique Series. Click HERE for part one where I've shared a brief introduction to Masking Technique. In today's post I would like to share how to create a group of anything with this technique. Here I have three cards for you, one with video and the other two cards with photos. I hope you like them :)

MASKING TECHNIQUE

PART TWO

CREATING A GROUP


CARD DETAILS


I started by stamping the trees in It's a girl, Melon Ice and Sweet Sixteen Inks, then masked them with a masking paper and stamped again the trees in Mint to be, It's a boy and Bellini Inks.


I used For Everything Stamp set from CP designs and all the inks are also from CP ink collection. Finished the card with splatters of black ink and with a stamped sentiment.


On this card, I stamped the cute mug from For Everything Stamp set in Flirty Fuchsia, masked the mug and stamped the image in Pixie Dust, masked again and stamped in Sweet Sixteen Inks.


All the stamps and inks I used here are from Catherine Pooler Designs. I added splatters of black ink and finished the card with the sentiment.


On a A2 top folding card, I masked off the edges with a thin washi tape and ink blended the background with Carved Pumpkin Distress Ink.


For a dreamy background, I added splatters of water followed by black ink.


While the panel was drying, I stamped the cute fox image from Paper Smooches called Chilly Chums in Memento Tuxedo Black Ink, masked him off and stamped the foxes on either side of the previously stamped fox.


I colored the images with Sizzix Permanent Markers. Before foam mounting the foxes on the card front, I stamped the sentiment from the same set.


And that's all for today. I hope you like it. See you soon with the part three where I'll be sharing how to create a scene with Masking Technique. Take care and I'll see you next time :)

September 26, 2018

BLESSINGS | CATHERINE POOLER DESIGNS


Hello my dear lovely crafters! How are you doing? :) Today's card is a bit 'one layer card'. The reason behind this card was - we often neglect small stamps from the set and we don't often use them on our cards. So I decided to give them some love by seasoning them on this 'Fall Themed Card' ;)

Products from Catherine Pooler Designs

(I am a part of their affiliate program. This means that I receive a small commission when products are purchased through links I share here (at no additional cost to you). Kindly support me by clicking through these links when you shop. Thanks so much.)
CARD DETAILS


I started by stamping all the tiny images from Autumn Blessings Stamp Set on a white card stock with Memento Black Ink and colored them with Sizzix Permanent Pens. I used two shades of color for each image and I feel it's more comfortable to use two shades rather than using many shades of markers at a time!


Then I stamped the Pumpkin in Tiki Torch followed by Rockin Red. The technique I used was Rock n  Roll or Tone on Tone or Ombre Stamping Technique. I didn't get the result properly but I liked it! These pumpkins are looking very artsy and they added more interest to the over all card design. :)


I also stamped the bold sentiment from the same set with Versafine Sepia Ink. I fussy cut all the images with scissors and adhered over the card panel as shown above. I wanted the sentiment in the center and the tiny images surrounding it.


Lastly I finished the card by stamping tiny images with Grass Skirt and Versafine Sepia. This card is screaming 'fall', right!


Like it? Grab it before it sells out!

May 15, 2018

CONGRATS CARDS | CATHERINE POOLER DESIGNS


I have two trendy Congrats Cards featuring the products from catherinepooler.com. These cards are pretty simple to make and yet they look so trendy! I hope you would give them a try!


PRODUCTS USED

(I am a part of their affiliate program. This means that I receive a small commission when products are purchased through links I share here (at no additional cost to you). Kindly support me by clicking through these links when you shop. Thanks so much.)


HOW I MADE THESE CARDS

CARD #1


  • I started by folding the main card base into a top folding card.
  • Then I added splatters of black paint with a paint brush and let the card dry.
  • I stamped the sentiment and fussy cut it with a pair of scissors.
  • I placed a spool golden thread and adhered it over the main card base, then adhered the sentiment as well.
  • Finally I stuck the leaf in the sentiment.
CARD #2

  • I drew the lines with copic marker on a top folded A2 card base.
  • I took another panel and added splatters of black paint.
  • Adhered all the elements with glue.

I hope you like these cards. Thank you so much for visiting! :)