Showing posts with label distress ink blending. Show all posts

July 17, 2020

'YOU' CARDS


Hello friends! Recently I came across this beautiful yet inspiring pin on Pinterest. As soon as I saw it, I wanted to create something like that but wanted to give my own touch and twist. The pins were like 'inhale, exhale', 'faith, fear'. This gave me an idea to create cards with 'peace, love', 'kind, beautiful' and 'spice,sweet'. The over all cards say that YOU are spice and sweet, make sense? If you want more inspiration please check my Inspiration board. So I'm here today with three cards for you, I hope you like it.

CARD MAKING DETAILS

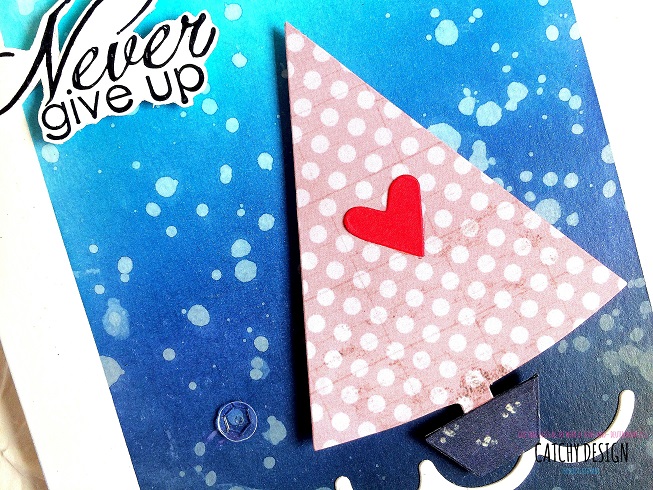
The most common thing you'll notice in this post : one layer cards, masking, ink blending, handwritten sentiments and took me minutes to make.


For me all colors are beautiful. I'm dusky in color, I had this inferiority feeling about complexion when I was little. But with age, maturity and knowledge the perspective towards dark skin has changed completely and I started to love and respect myself. One day someone said to me 'you are beautiful and you know what? dusky girls are more appealing'. I really liked that compliment! :P by the way, I used Ground Expresso and Antique Linen Distress Inks.


I've got peace like a river and I've got love like an ocean! I love this song so much. I guess the colors are very apt to the words. :) I used Picked Raspberry and Broken China Distress Inks.


This one was my favourite. The colors and the words are just wow! :D I used Carved Pumpkin and Spun Sugar Distress Inks.


I hope you liked the cards. If you have any questions kindly leave me a comment below and I'll get back to you asap. :)

I'm entering these cards for the following challenges

  1. AAA cards CAS Game #169 - Made In Minutes
  2. CAS on Sunday Challenge #184 - Anything but White

Thanks for stopping by and I'll see you soon. :)

December 5, 2017

CUTE HOLIDAY CARDS | A MUSE STUDIO


Recently I've shared these pencil colored images on my Instagram feed. They were just lying on my desk. Last night I fussy cut them and placed them in my Trinket Box. In the morning I made two cards with these images. I used Faber-Castell color pencils to color my images.


These cute stamps are from A Muse Studio called Forest Friends. I used one of the Sizzix Rectangular framelit dies to die-cut my smaller panel. I ink blended Peacock Feathers Distress Ink over that die-cut panel and adhered all the cuties with Tacky Glue. Finally splashed snow with Picket Fence Distress Paint and finished the card by stamping the sentiment from the same stamp set.


This is almost a single layer card!? I die-cut the grass border with Grass die by A Muse Studio and adhered onto my card front along with the images. Finally finished the card by stamping the sentiment from Forest Friends.


I didn't have any Christmas or holiday related stamps and dies from Hero Arts and SSS. I hope you like these cards. I'm entering these cards for A Blog Named Hero Challenge: Winter Holiday with Simon Says Stamp. Thank you :) 

August 11, 2017

How to video | Smooth Ink Blended Background with Distress Ink | Sizzix Lifestyle


Are you struggling to get a smooth ink blended background? Then this post is for you. Today I'm going to talk a little about on how to get smooth ink blended background with distress inks.

(Disclaimer : All opinions are my own. I found these supplies work best for me. If you want to purchase or if you feel other supplies work best for you then that's good! Once again all opinions are my own!!)


The first and foremost thing to remember is 'what paper you are using'. Distress Inks blend like butter on Iris Card Stock, Neenah Card Stock, Bielo Card Stock and on Water color papers. These papers are easily available in the place where I live so I use them very often. And I don't know much about the other papers available in the market.

I masked off all the edges of the card stock with washi tape. Yep! this is going to be a one layer card.


The second thing is 'how old is your ink blending foam'. The older the foam the smoother the blend. If your foams are new, ink them up first and rub against the paper, to and fro, for quite sometime and this should really help with the smooth blending.


The third point is 'don't stop blending until you are happy with the result'. Just apply and apply the ink. You can see in the video that I will be blending again and again with Black Soot, Chipped Sapphire and Peacock Feathers Distress Inks until I'm happy with the result.


Once I'm happy with the result I added splatters of water to enhance the beauty of the card design! And yeah! I didn't use the Christmas Tree as is, I'm just turning it into a boat. I love using and making things in unexpected ways.

Sizzix Lifestyle Supplies Used


I seldom use pattern papers on cards but I decided to use them whenever and wherever necessary. After the ink blending part was done, I adhered the wave and foam mounted the boat/Christmas tree. And stamped the sentiment from Prima on a white card stock with Archival Jet Black Ink, fussy cut it and foam mounted it as well. Finally embellished the card with clear sequins.


Here is the video for you where I've shared the whole card process. I hope you like it. Thanks for visiting :)

PROMOTION

Help Sizzix Lifestyle to break the world record for the largest collection of paper crafts. Do you want to be a record breaker. All details HERE